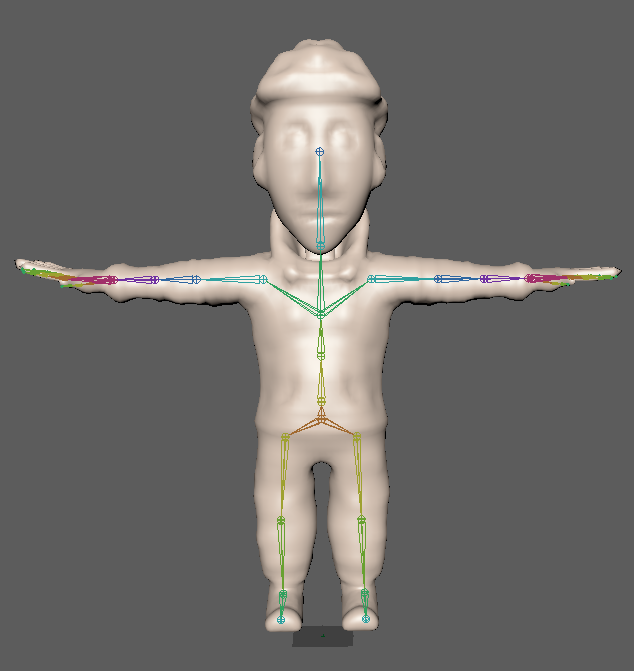
Now that I have a model for the main character I decided to not texture it yet and just take a low level version of the model in to Maya and start to rig , I used a pre-built human skeleton that Maya gives you and then lined up all the joints to the correct places, then I connected it to the model by going to skin > bind skin , this attaches them in place. Here is a image of the skeleton in the model :
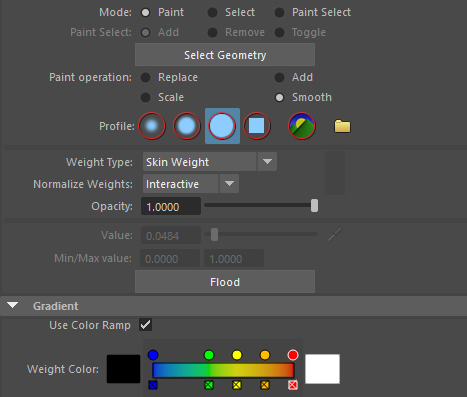
Now I had the skeleton in the skin I need to paint on the skin weights , again I navigated to the top menus and clicked “paint skin weights” now I am met with a load of options but the ones I use are the solid circle brush with the options “paint” with “replace” and occasionally the “smooth” option just in case things need cleaning up . I also click the “use colour ramp” option , this gives me a better view of the areas affected with more then just a white to black gradient. Here is the menu :
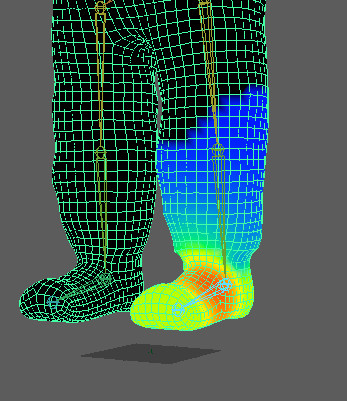
I am going to show an example of the weights I have painted , here is the left foot :
Finally now the skin is all painted and rig set , I made a simple walk animation. Here is the reference image I used :

I used the same technique as the reference planes when doing the model , I made it a reference plane and then posed the model in position, key framed it then skipped to the next 15 frames and so on repeating the process until I had this little animation here for a walk cycle which I can smooth out in the future and loop it when needed :

Since this gif ^ I have made it not take such big steps but I am proud how this is turning out and I like the progress I am learning within my animation / rigging skills and look forward to the rest of the project.
