This blog post is really overdue so i’m going to finish it off as if it was weeks and weeks ago as it has been sat in my drafts and i am trying to clear them out…
We are now working on a sketch with perspective which we will then move in to Photoshop and develop it further and correct any mistakes whilst adding color.
I have arranged a 10 images which i found on the internet into a mood board. Bellow is my mood board .

From here i have made 5 thumbnail sketches of these images however the college’s internet was down on the day that we were doing the sketch so unfortunately i had some set backs and i couldn’t use my mood board , i also decided to change my idea many times. So first it was as you seen above , a jungle style temple , next it was a western cowboy style town which i tried to sketch on paper however i started running out of ideas for things to add to the drawing so in lesson i decided to change my idea for the third time and do a simple lake with a guy fishing out on small wooden pier / dock , i do not know the correct term for it. I did the full sketch on Photoshop with a graphics tablet and a pre-made brush i created in class that looked like a pencil , the reason i did the full sketch on Photoshop was due to falling behind the class working on things like the Marriott and just not working up to everyone’s speed in the class.
First i started off with drawing some base lines to use
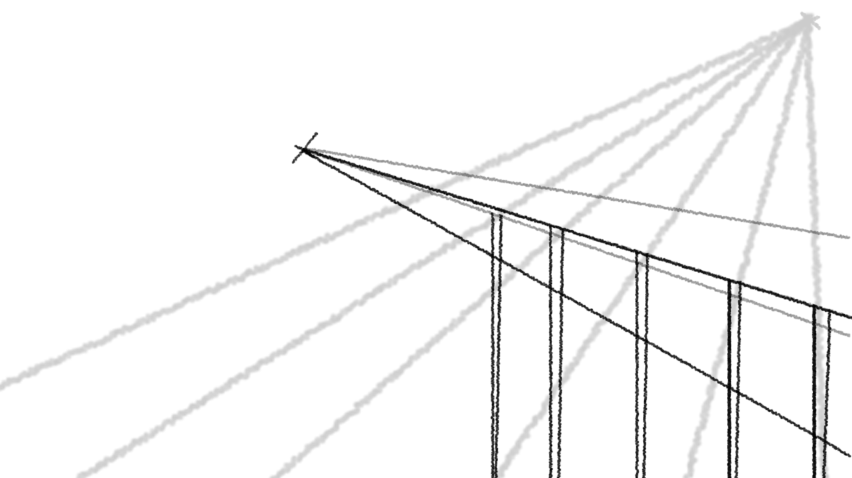
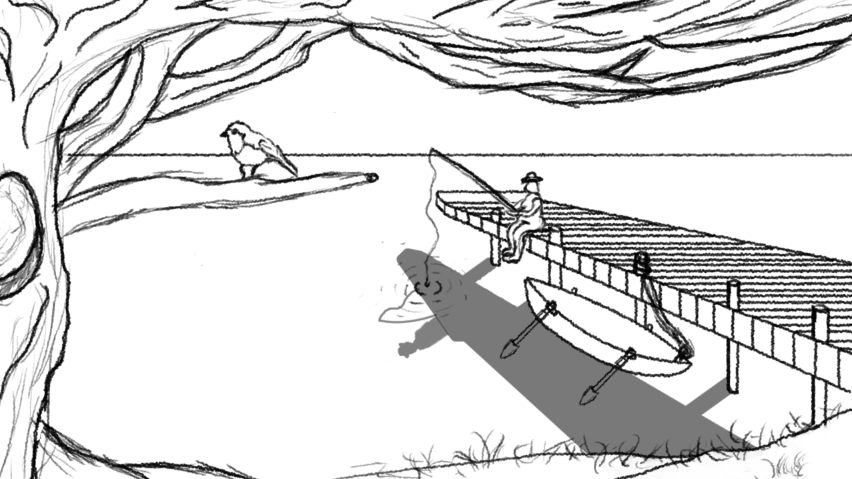
The faded lines coming down from top right corner are the direction of light coming from my non existing sun in the scene just for when i was adding shadows in later, the lines coming from the vanishing point are the lines for the wooden pier / dock that the fisher man was going to be sat on. From here i started to tidy up the lines rubbing some out getting rid of the vanishing point and light rays along with adding a horizon and shadows under the dock , then continued to add a splash effect in the water at the point the man was fishing. I also added a tree in the foreground to help cover up the drawing a bit more or it was quite plain , here is what i have currently :
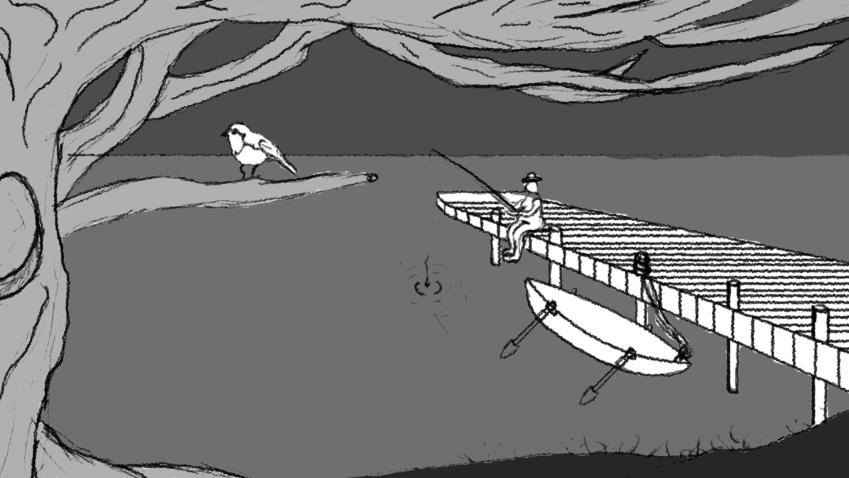
Now that i had a drawing i was happy with i then started on they grey scaling of the image , adding different shades of grey into the picture so i can easily clip mask colours over the top in the future , you can see some lines were edited by the grey but will be fixed when i add colour . The result was this :
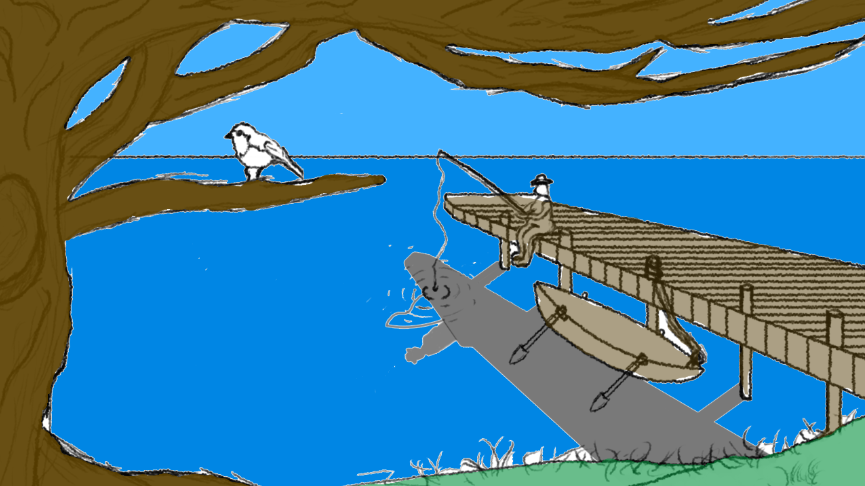
From here i started adding blocks of colour with no detail such as blues for sky and water , brown for wood and the tree and boat and so on…
As you can see its not detailed at all and there is gaps missing but this is a basic version and is only for me to reference when i finish it off using a graphics tablet in class next week:
Next post will be me finishing it off , getting better colours , tidying up lines and blank spots then adding shading / more detail.
